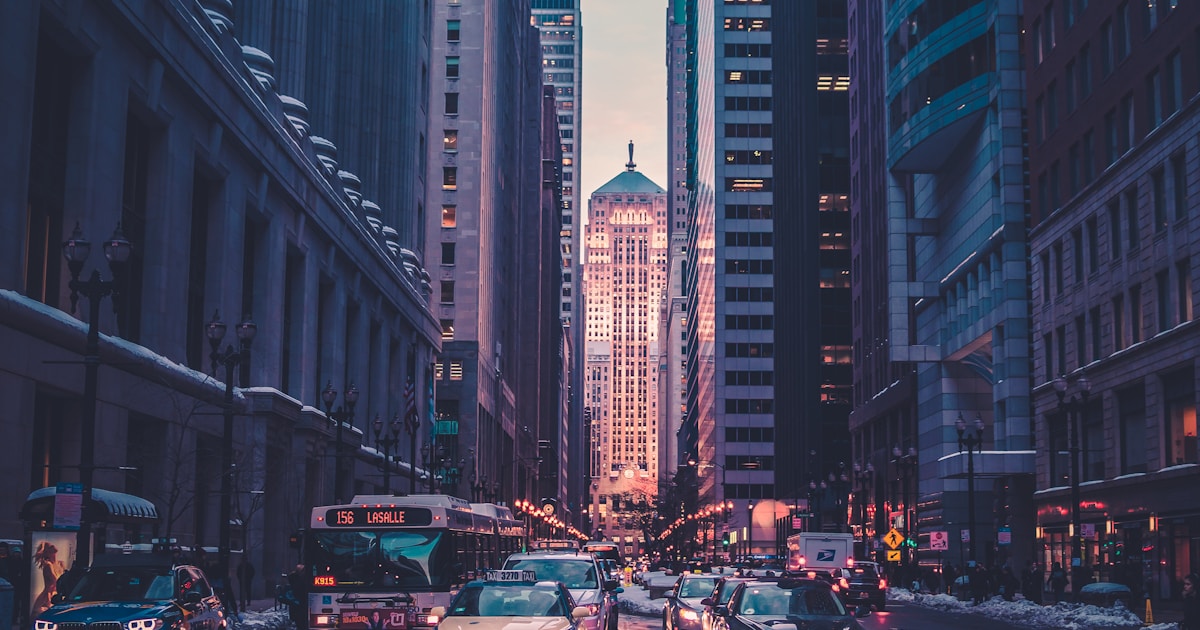
Street Photography with Ricoh GR III: Best Settings and Recipes
The Ricoh GR III has earned its reputation as one of the finest street photography cameras ever made. Its pocketable size, lightning-fast snap focus, and exceptional APS-C image quality make it the weapon of choice for street shooters around the world. But having the right camera is only half the equation -- knowing how to configure it for the unpredictable nature of street photography is what separates good shots from great ones.
In this guide, we cover the best Ricoh GR III settings for street photography and recommend preset recipes that complement the genre perfectly.
Core Camera Settings for Street Photography
Shooting Mode: Aperture Priority or TAv
Most experienced street photographers use Aperture Priority (Av) mode on the GR III. Set your aperture between f/5.6 and f/8 for a deep depth of field that keeps subjects sharp even when focus is not perfectly precise. The camera handles shutter speed automatically based on available light.
For even more control, try TAv mode, which lets you set both aperture and shutter speed while the camera adjusts ISO. This is ideal when you want to guarantee a minimum shutter speed to freeze motion. Set the shutter speed to 1/250s or faster and the aperture to f/5.6 -- the GR III will raise the ISO as needed.
Auto ISO Configuration
Navigate to MENU > Shooting Settings > ISO Sensitivity and configure Auto ISO with these street-optimized values:
- ISO Range: 200 to 6400 (the GR III handles noise well up to ISO 6400)
- Minimum Shutter Speed: 1/250s (prevents motion blur on moving subjects)
This configuration ensures you always have a fast enough shutter speed to capture decisive moments while keeping noise at acceptable levels.
Focus: Snap Focus is Your Best Friend
The GR III's Snap Focus feature is arguably its most important tool for street photography. Snap Focus pre-sets the focus to a fixed distance, eliminating autofocus lag entirely. When a moment happens, you press the shutter and the image is captured instantly.
Set Snap Focus distance to 1.5 meters for close encounters or 2.5 meters for a more general street shooting distance. Combined with f/5.6 or f/8, the depth of field covers a wide range, and most subjects between 1 and 5 meters will be acceptably sharp.
To enable Snap Focus, go to MENU > Shooting Settings > Focus > AF Mode and select Snap. Then set your preferred snap distance.
Drive Mode and File Format
Set the drive mode to Single Frame for deliberate, composed shots, or Continuous if you prefer to shoot short bursts. For file format, shoot JPEG if you are using a preset recipe (the recipe settings only affect JPEGs) or RAW+JPEG if you want the flexibility to edit later while still getting the recipe-processed JPEG.
Best Preset Recipes for Street Photography
The right Ricoh GR III preset recipe elevates street photography by establishing a consistent visual mood across your images. Here are the styles that work best on the street.
High-Contrast Black and White
Black-and-white street photography is timeless, and the GR III excels at it. A high-contrast monochrome recipe with strong blacks and crisp highlights gives your images the look of classic street photography masters. Start with the Monotone image control, push contrast into positive territory, and add a touch of grain effect for that analog texture. Our Tri-X-inspired preset recipe nails this look with carefully tuned shadow and highlight contrast.
Classic Documentary Color
For color street photography, a documentary-style recipe keeps things honest and grounded. Think moderate saturation, neutral white balance, and gentle contrast that preserves detail in both highlights and shadows. This approach works in any lighting condition and produces images that feel authentic rather than heavily processed. Our Portra-style recipes are ideal starting points for this look.
Warm Urban Tones
Many street photographers gravitate toward a warmer palette that adds atmosphere to urban scenes. A recipe with slightly boosted amber toning, gentle saturation, and a touch of positive key adjustment creates inviting images that draw viewers into the scene. This style is especially effective during golden hour or in areas with warm artificial lighting like restaurants, train stations, and market stalls.
Moody Desaturated
For a more contemporary, editorial feel, a desaturated recipe with slightly lifted shadows creates a muted, moody aesthetic. This look works particularly well in overcast conditions or for rainy-day street photography. The reduced color intensity keeps the focus on composition and gesture rather than color, while the lifted shadows maintain detail in darker areas of the frame.
Practical Street Shooting Tips
Assign recipes to the Fn button. Map the Image Control setting to one of the GR III's function buttons so you can swap between recipes without entering the menu. This lets you switch from color to black and white in seconds as the scene demands.
Use the built-in ND filter. The GR III's 2-stop ND filter is invaluable for shooting wide open in bright daylight. Enable it from the shooting menu when you want shallower depth of field for isolating subjects in a crowded scene.
Enable image stabilization. The GR III's Shake Reduction system provides up to 4 stops of stabilization. Keep it on for handheld street shooting, especially in lower light where shutter speeds may dip.
Crop mode for extra reach. The GR III offers a 35mm and 50mm crop mode in addition to its native 28mm field of view. The 50mm crop is surprisingly useful for street photography when you want tighter framing without getting physically closer to your subject.
Shoot from the hip. The GR III's small size and quiet shutter make it ideal for inconspicuous shooting. Practice shooting without raising the camera to your eye -- the wide 28mm lens is forgiving, and you can crop later if needed. Snap Focus makes this technique especially effective since there is no autofocus hunting.
Putting It All Together
The combination of the right camera settings and a carefully chosen preset recipe transforms the Ricoh GR III into an incredibly capable street photography tool. Set up your focus, exposure, and ISO for quick reaction times, apply a recipe that matches your creative vision, and then focus entirely on the moment.
Explore our street photography preset collection to find recipes specifically designed for the urban environment, or pick up a street photography bundle to get multiple complementary looks at a discounted price.